Notification Methods for Completed Forms #
There are two ways to track completed forms:
- Email Notification: Receive an alert whenever a form is submitted.
- Platform Verification: Check the forms directly in the administration panel.
Email Notification Setup #
To set up email notifications:
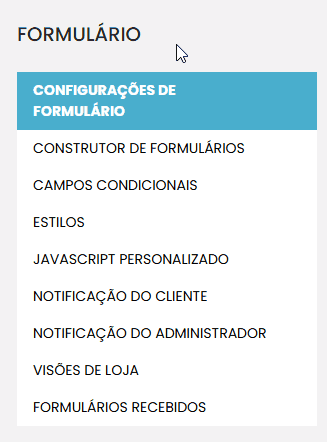
- In the sidebar menu, go to Content > Form Management > Forms.
- Locate the desired form and click to edit it.
- Navigate to the Admin Notifications tab.
- Fill in the “Recipient Email” field with the email address that will receive the notifications.


Tip: To identify the correct form, right-click on any field of the form, select Inspect, and look for the form identifier (e.g., Form ID).

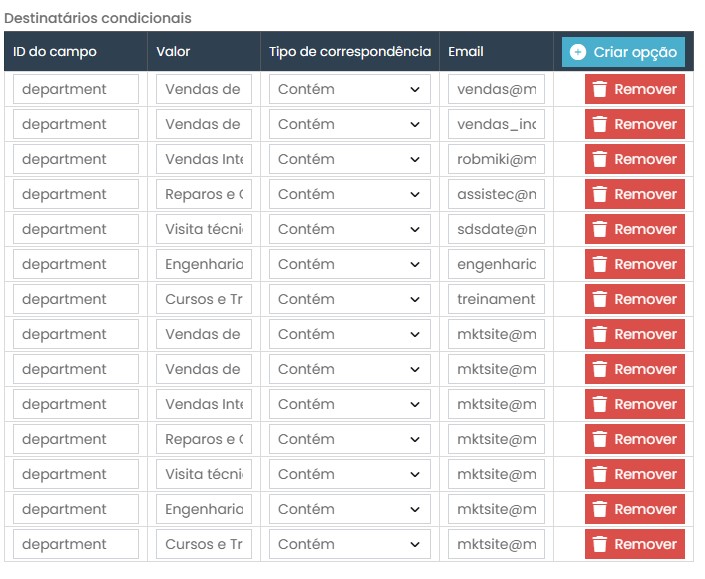
Conditional Notification: #
You can set up specific notifications based on conditional fields, such as “Department of Interest.”
To do this, in the notifications tab, add a condition:
- Enter the ID of the corresponding field (e.g., DEPARTMENT).
- Define the exact value to be used as a criterion (e.g., “I am a Buyer”).
- In the “Email” field, enter the address for the conditional notification.
2. Form Verification in the Administration #
If you prefer to track forms directly on the platform:
- In the sidebar menu, go to Content > Form Management > Received Forms.

Use the available filters to locate the desired forms:
- Date Range: Filter by a specific date range.
- Store: Select forms from a specific store (if you have more than one).
- Customer Name or Email: Find forms submitted by specific customers.
In the list of received forms, you can view details such as:
- Name
- Phone
- Department
- Message content
Additionally, you can check the emails that received the configured notifications.

Final Considerations #
With these instructions, you will be able to:
- Set up email notifications to track completed forms.
- Access and analyze forms directly in the platform’s dashboard.
I hope this guide has been helpful. If you have any questions, please contact our support team.