Pular para o conteúdo
Docs
  • Ticket no Helpdesk

Sales

4
  • How to check which seller is associated with an order?
  • How to Export Invoices in PDF
  • Post-Sale Email Configuration
  • How to Recreate a Child Order ?

Catalog

22
  • Sales region setup
  • How to create a virtual product ?
  • How to Add Related Products to Your Listing
  • How to Add an Attribute Inside an Attribute Group
  • How to Create Custom Options in Products
  • How to Create an Attribute Group
  • How to Create a Default Attribute on the Platform
  • How to Add or Edit Attribute Options in Your Catalog
  • How to Select Attributes for Products
  • How to Activate a Product for Sale in the Multiseller Model
  • How to Change Product Visibility in the Marketplace
  • How to Add Additional Days to Shipping
  • How to Remove a Category from the Filter Listing
  • Seal Configuration on the Website
  • How to Update Attributes in Bulk Through the Admin Panel
  • How to Add or Remove the Minimum Sales Quantity of a Product
  • How to create a grouped product?
  • How to create a simple product ?
  • Categories
    • How to Create a Carousel Product Grid on the Homepage?
    • How to Change the Name of a Category?
    • How to Include a Custom Description in Categories
    • How to Change the Order of Products in Categories

Promotions

7
  • How to Create and Configure Promotion Rules with Free Gifts
  • Discount Configuration for MultiSeller Marketplace (Original to Sale Price Model)
  • How to Create a Discount Coupon?
  • How to Create a Discount Rule Without a Coupon ?
  • Discount Rule Templates
  • Abandoned Cart Creation and Configuration
  • How to Create a Discount Coupon for an Abandoned Cart

Content

8
  • How to Create a Grouped Product?
  • How to Add Recipients to Forms
  • HOW TO CONFIGURE BLOG PRO
  • How to verify received forms
  • How to Create an Email Template with a Coupon for an Abandoned Cart
  • How to Change Field Requirements in Forms on the Platform
  • How to Change Home Page Banners
  • How to Check Received Forms

Seo/Marketing

1
  • How the Synonyms Feature Works in SEO

Marketplace

3
  • How to Allow or Restrict Purchases from Multiple Sellers in the Same Cart
  • How to Create, Disable, or Delete an Address in the Store Locator of the Soul Marketplace ?
  • Identifying the Seller Associated with an Order

Communications

2
  • How do I enable or disable comments on products?
  • How to enable the WhatsApp button

Reports

5
  • Adding Variables and Parent Order Fields to the Report
  • How to view the approved orders report
  • How to View the Abandoned Cart Report ?
  • How to View the Most Viewed Products Report
  • How to View the Best-Selling Products Report

System

6
  • How to check the records of new updates or improvements to the Marketplace?
  • How to Register Error Logs for Order Creation Attempts
  • How to Enable the Vertical Layout in Checkout
  • Display quote-only products only after priced products
  • How to Create an Administrative API User
  • New Tax Amount Display Feature

Seller Dashboard

5
  • How to Log in as a Reseller?
  • How to approve or disapprove a seller profile
  • Activating or Deactivating a Seller’s Store
  • New free shipping configuration in the reseller pane
  • How to change the free shipping field of the product via spreadsheet?

First Steps

1
  • How to Set Up Google Two-Factor Authentication
Ver categorias

How to view the approved orders report

3 minutos de leitura

Export Profile Configuration

This guide explains how to create and configure an export profile for order reports in the platform’s admin panel.

Accessing the Export Configuration #

Before creating an export profile, make sure you have permission to configure it.

To verify:

  • Access the Admin Panel.
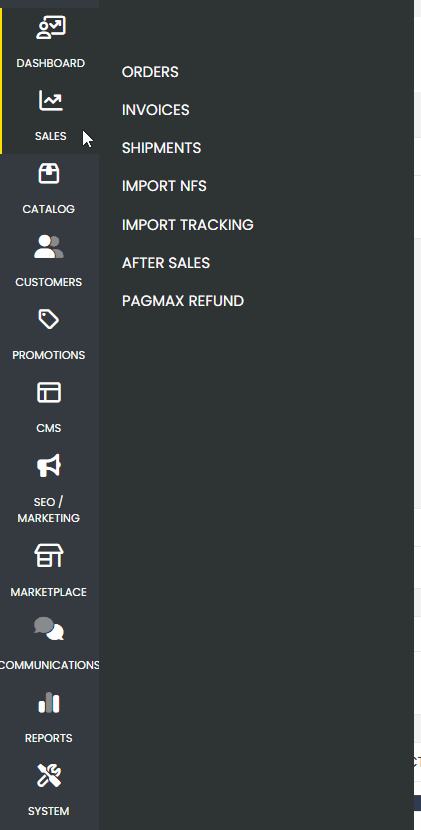
  • In the sidebar, go to Reports.
  • Then, click on Order Export > Export.

If the Order Export option is not available, please open a support ticket so our team can activate the feature for your account.

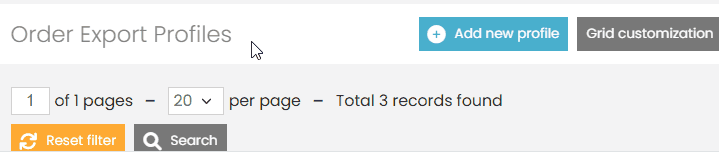
Creating a New Export Profile

If the feature is available, after clicking Export, a new page will open.

To proceed:

  • Click the blue button in the top right corner: Add new Profile.

General Profile Settings

Fill in the fields as follows:

  • Name: Assign any descriptive name, e.g., Approved Orders Export.
  • File Name: Use the same name, but in lowercase, without spaces (e.g., approved_orders_export).
  • File Path (local): Leave as default: var/export/.
  • Automatic Execution: No
  • FTP Settings: No
  • Email Settings: No

Data Format and CSV Settings #

  • File Format: CSV (Comma Separated Values)
  • Include Field Names in First Row: Yes

In the CSV Settings section:

  • Delimiter: Comma (,)
  • Enclose Value In: Double quotes (")

Order Number Filters #

  • Skip Starting With: No
  • Auto-fill the Start With # Field: No

You do not need to configure:

  • Filter by Shipment Number
  • Filter by Invoice Number
  • Creditmemo Number Filters

Other Export Filters #

  • Product SKU(s): Add SKUs to filter specific products. Leave empty to export all.
  • Include Only Rows with Found SKU(s): Yes
  • Status: Select only statuses that confirm order approval, such as:
    • Approved Order
    • Approved
    • Awaiting Shipment
    • Awaiting Confirmation
    • Delivered to Customer
  • Order Type: Select Child Orders Only
  • Customer Group: Select all available options
  • Skip Items with Zero Price: Yes
  • Skip Child Products: Yes
  • Start Date / End Date: Define the desired export period. Leave both blank to export all records.

Field Mapping #

In the Field Mapping section, set the following:

  • Export each custom product option in a separate column: Yes
  • Export each product attribute in a separate column: Yes
  • Export each additional payment information in a separate column: No
  • Fields to Export: Leave default

Then click the blue button + Add Field Mapping and add the following fields:

Field in DBField in Export
order.increment_idOrder Number
order.created_atOrder Date
order.statusOrder Status
order.grand_totalOrder Total
product.nameProduct Name
product.qty.orderedQuantity
payment.shipping_amountShipping Cost
billing_address.firstnameFirst Name
billing_address.lastnameLast Name
order.customer_emailEmail
billing_address.telephonePhone Number
order.customer_taxvatTax ID (CPF)
billing_address.streetStreet Address
billing_address.postcodePostal Code
billing_address.cityCity
billing_address.regionState

After completing the setup, click the green Save or Save and continue editing button.ons made.

Running the Export #

After saving your profile:

  • A new option will appear: Run Profile
  • Click Run Profile to generate the spreadsheet.
  • Important: You must click Run Profile again every time you make changes to the configuration.

Exporting from the Orders Screen

To export directly from the orders list:

  • Go to the Sales section in the sidebar.
  • Click on Orders.

  • At the top, find the Export to dropdown.
  • Select the export profile you created.
  • Click the Export button next to the dropdown.

Final Notes

That’s it! The report will generate a spreadsheet with all approved orders based on your profile settings.
Remember to keep your export profile updated, especially regarding analysis dates, product filters, and status settings.
If you encounter any difficulties, contact our Support team. We are always available to help!

Quais são seus sentimentos
Atualizado em 5 de junho de 2025
Adding Variables and Parent Order Fields to the ReportHow to View the Abandoned Cart Report ?
Tabela de conteúdos (TOC)
  • Accessing the Export Configuration
  • Data Format and CSV Settings
  • Order Number Filters
  • Other Export Filters
  • Field Mapping
  • Running the Export
© 2026 Docs • Built with GeneratePress