Read the documentation below if you want to create a carousel product grid for the homepage or if you want to change the products in an existing grid.
How to Create a Category for the Product Grid ? #
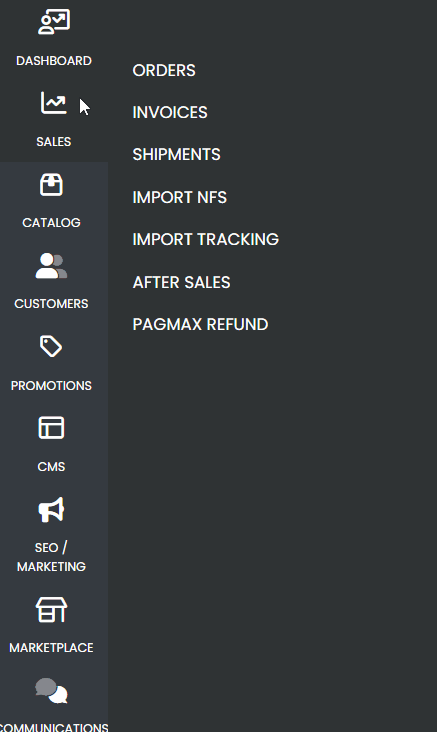
The first step to creating a product grid on your website’s homepage is to access the admin panel. After doing so, navigate to the side menu located on the left side of the panel. Look for the “Catalog” tab and hover your mouse over it. When you do this, a new submenu will appear. In the submenu, click on the “Categories” option.
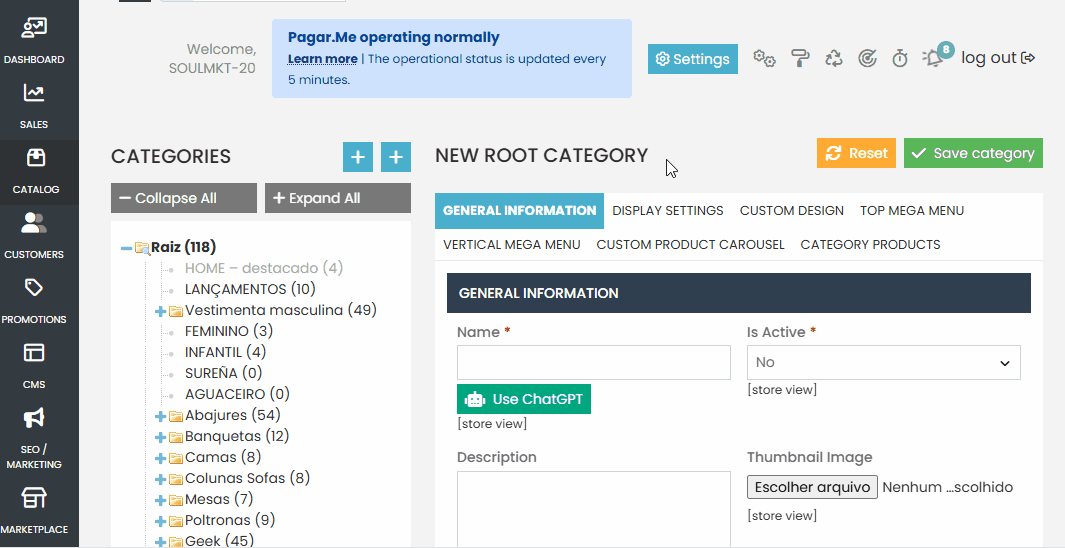
Wait for the page displaying the list of all your categories to load. Then, look for the main category of your system, which is usually identified by names like “Root,” “Corporate,” or “Main.” Click on your main category, and then click on the button located just above the category list. When you hover your mouse over the button, it will display the text “Create Subcategory.”
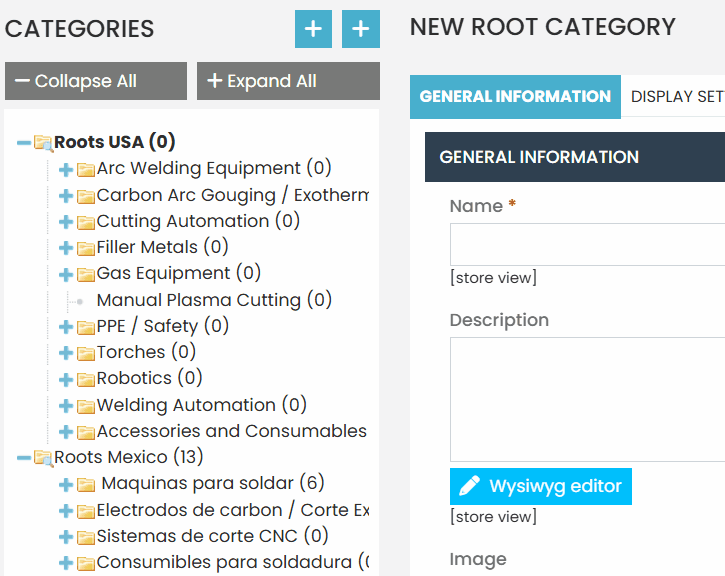
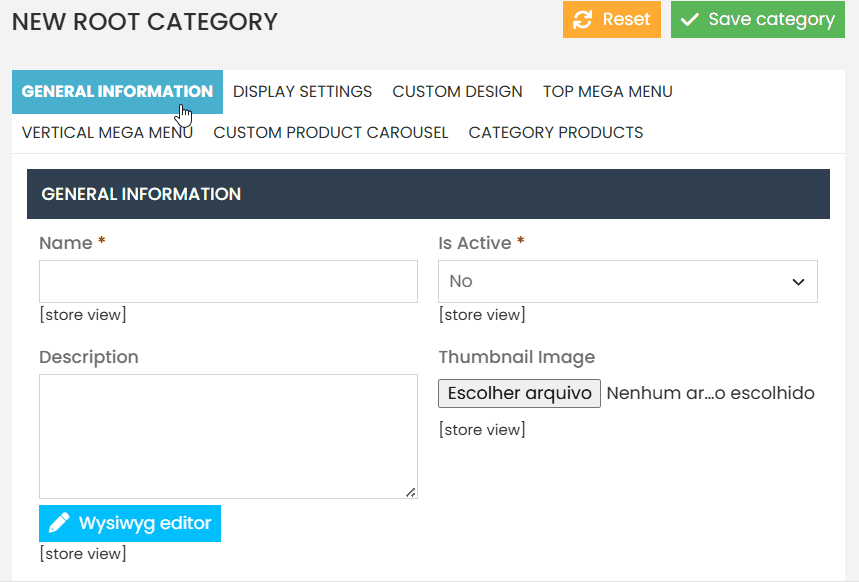
Before proceeding with the configuration, it is important to confirm that you are indeed in the settings of the new subcategory. To do this, check the text located above the general information section; it usually indicates that you are creating a new subcategory with a message like “New Subcategory.” Additionally, the main fields will all be empty.

After confirming that you are configuring the new subcategory, fill in the required and optional fields as indicated in the documentation.
The initial configuration should be done in the “General Information” section, which is located in the top menu of your subcategory.
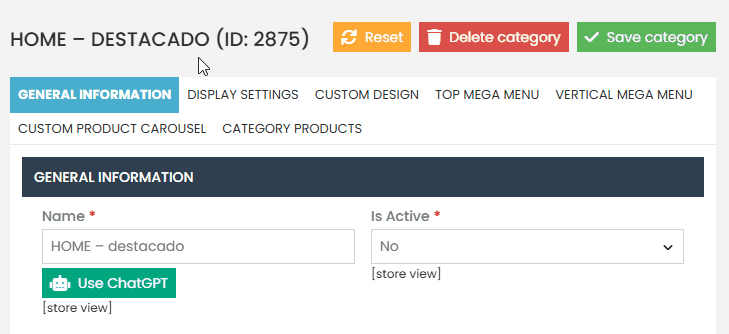
In the “Name” field, it is recommended to follow a standard naming convention when creating categories specifically for grids. The suggested pattern is to start the name with “HOME -“, followed by a dash and the subcategory name. For example, you can use “HOME – Highlights“
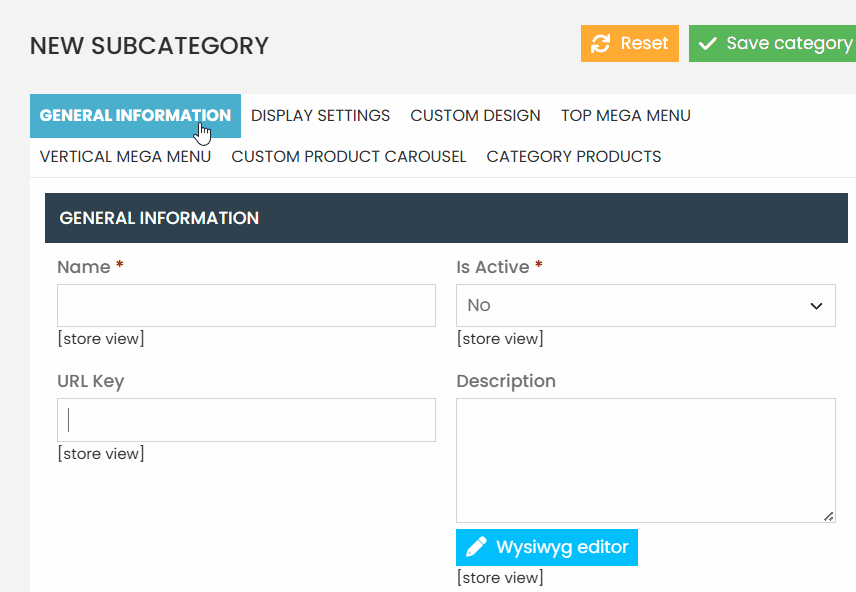
In the “Is Active” field, select the value “No“.
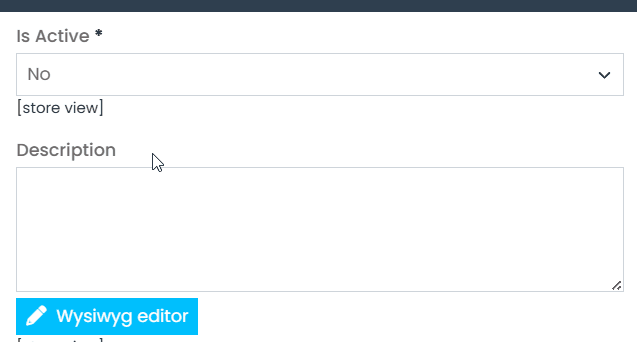
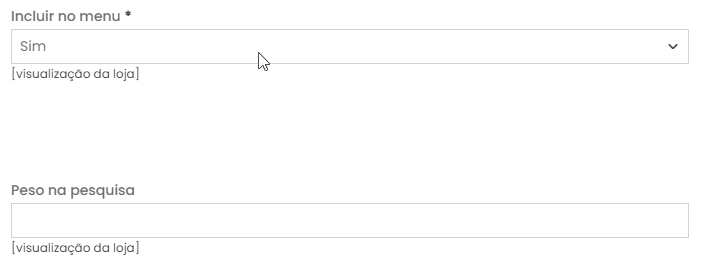
For the “Include in Navigation Menu” option, also select the value “No”
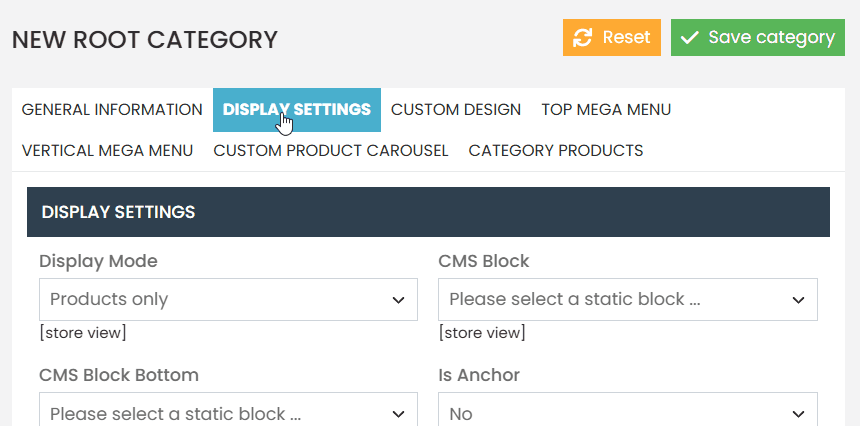
Navigate to the top menu and switch to the “Display Settings” configuration.
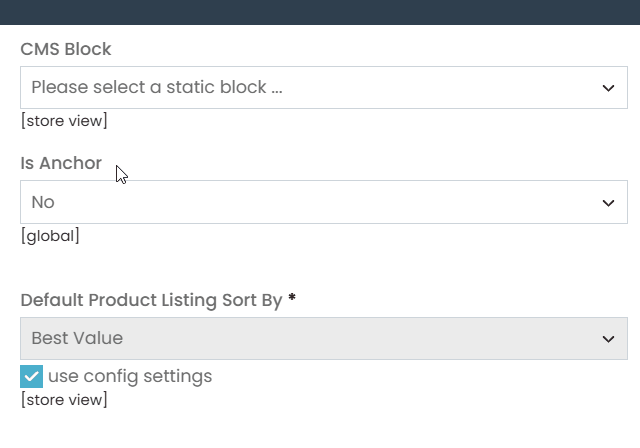
In the “Display Mode” option, select “Products Only”. The “CMS Block” and “CMS Block Bottom” options do not need to be configured.
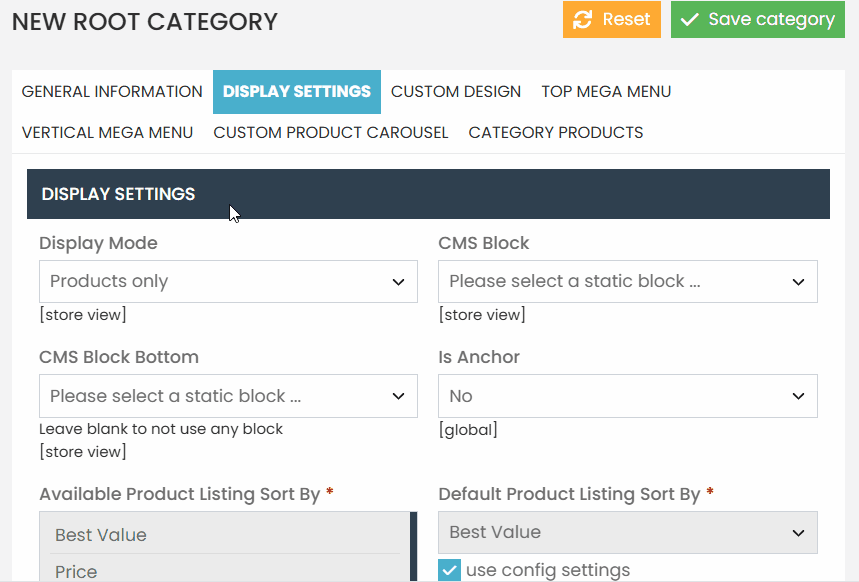
Set the “Is Anchor” option to “No”.
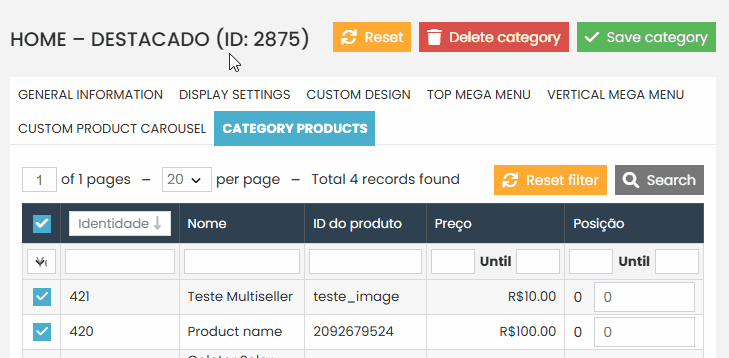
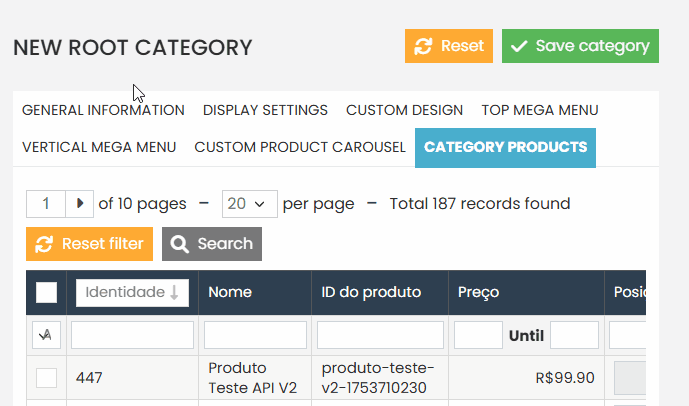
With the main settings completed, return to the top menu and select the “Category Products” option.
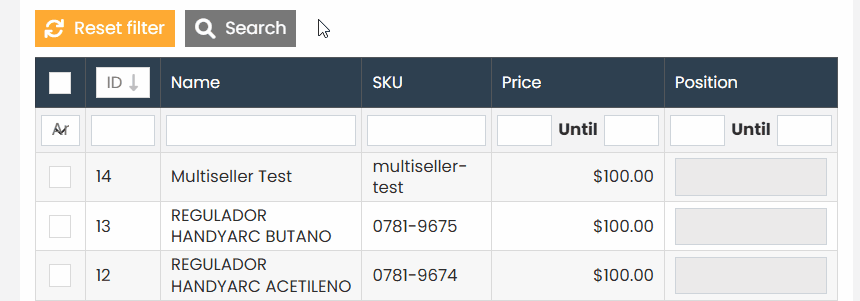
Wait for the page to load, then click the yellow “Reset Filter” button to display all available products.
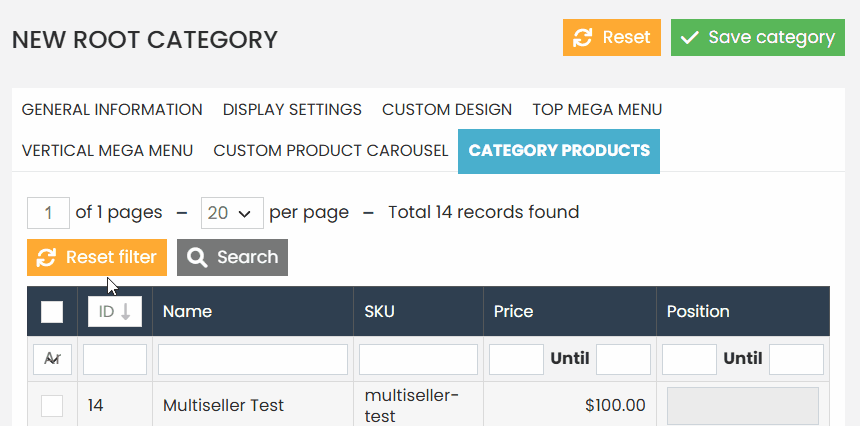
Select the products you want to display in your carousel. To do this, you can search for a specific product in the grid using the product name or SKU. Once you find it in the list, click on the product to check the selection box, indicating that it has been selected.
After selecting all the desired products, don’t forget to save the newly created category.
You will notice that in the category list, the newly created subcategory will appear in a grayish tone. If yours looks like this, it means the configuration is correct.
How to Include the Grid on the Homepage of the Website ? #
It is important that, before following this step, you have reviewed the previous step on how to create a specific category for the grid. If you have already created the category that will be used for the grid, follow the step-by-step guide below:
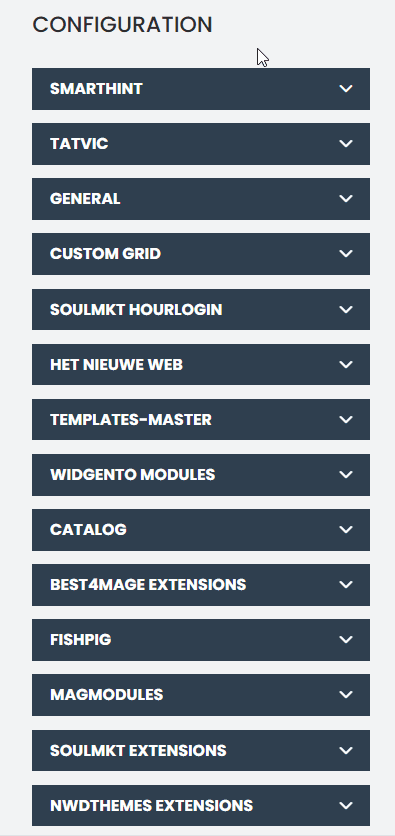
Navigate to the side menu, go to the “System” option, and click to open the list of more specific administration settings.

In the specific settings, look for “Soulmkt Extensions”. Within this list of configurations, find the setting named “Soulmkt Soulcore” or simply “Core”, and click to access it.
After accessing the configuration, it is important to select the specific store view for your store before proceeding with the grid inclusion. You can do this by accessing the store view selection bar, indicated by the globe icon in the upper left corner of the page.
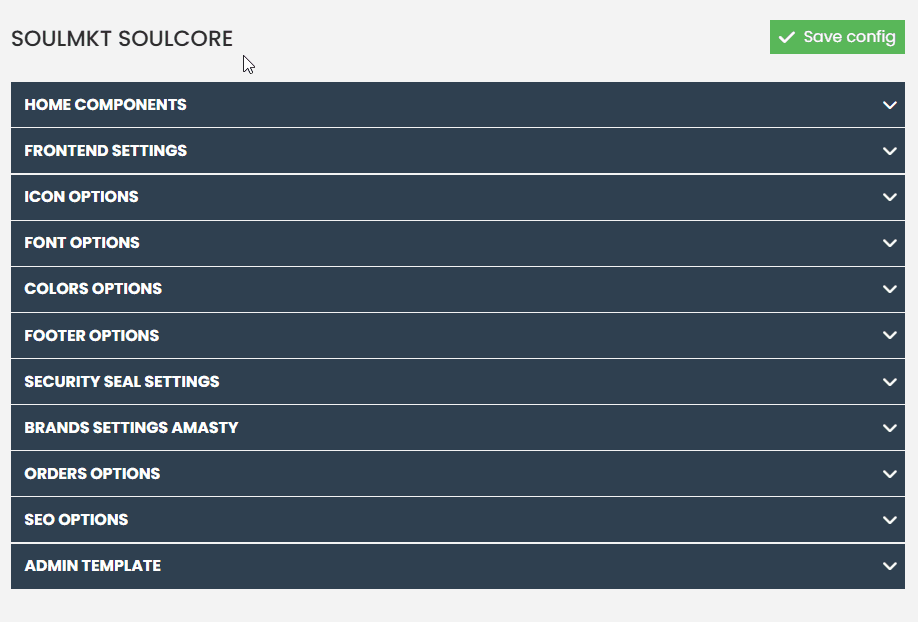
Next, click on the first configuration option called “Home Components”. After clicking, you will see all the elements that make up the homepage of your website.
On the left side, you will see a list of elements in block format. Click on the black block labeled “Grid” and drag it to the desired position within the homepage components.
Arrange it below another element according to your preference. In this example, I will place the grid element right below the slide element, which represents my banner slider.
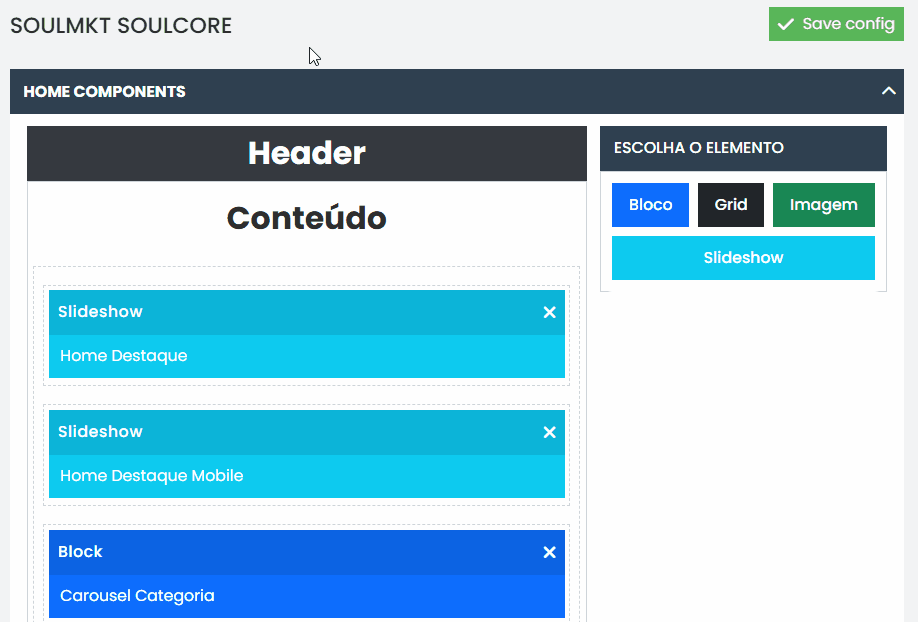
After defining where the element should be positioned, click on the created grid element and configure it as follows:
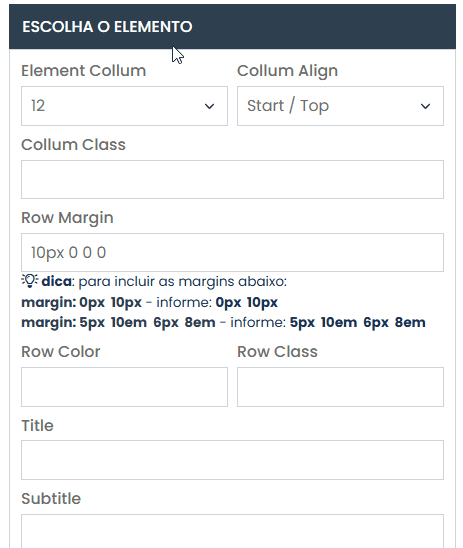
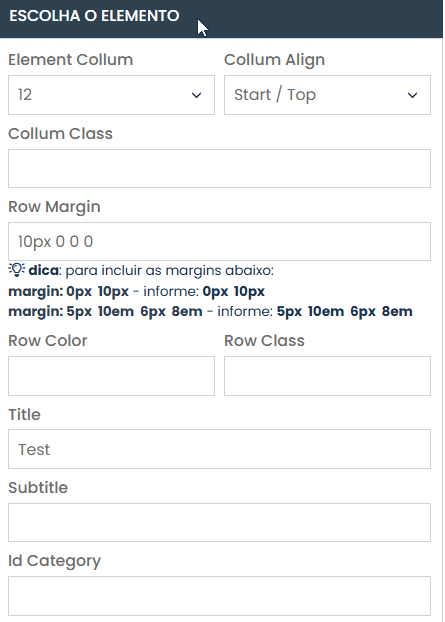
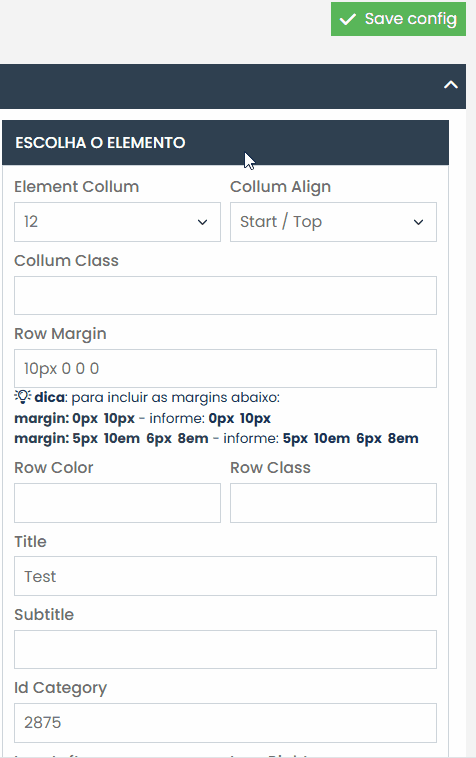
In the first field, “Element Column”, choose the value 12. In “Column Align”, select the value “Start/Top”. In the “Row Margin” field, enter the value “10px 0 0 0”.
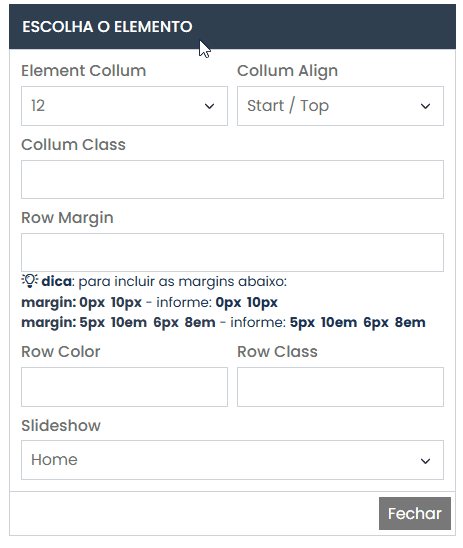
For the “Title” field, define the title you want to display just above your product carousel. In this documentation example, the chosen text was “Test”.
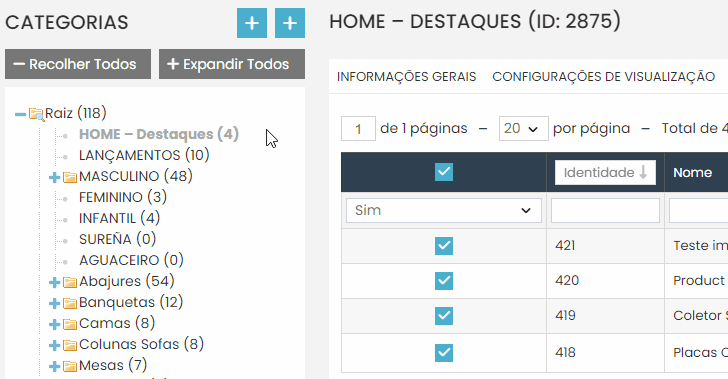
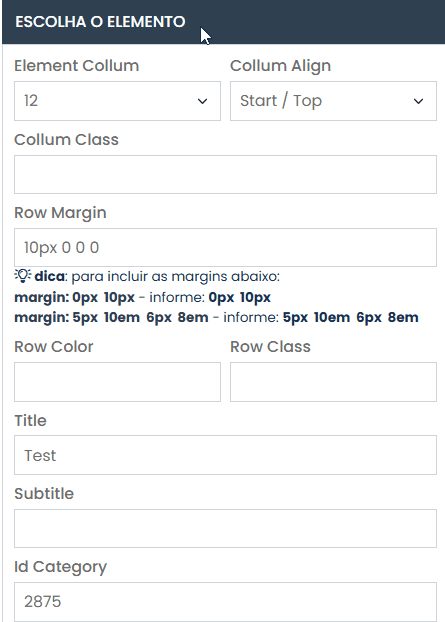
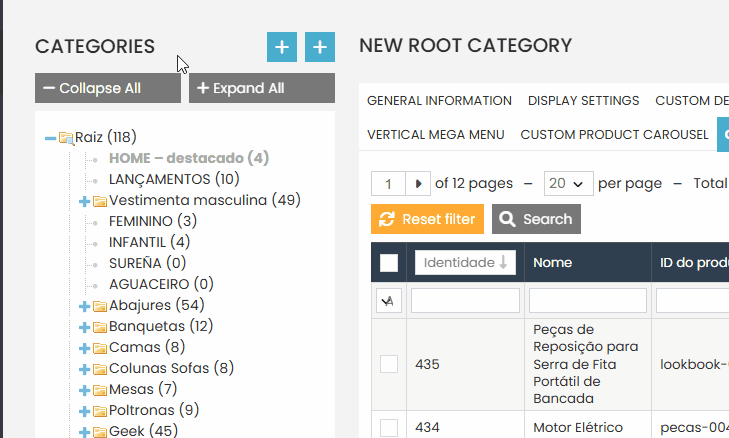
In “Id Category”, enter the value of the category you previously created. To locate this value, navigate through the side menu to the “Catalog” tab and click on the “Categories” option.

After accessing the category listing, click on the name of the category you created in the first step and copy the numeric value shown right next to the category name. Do not copy the number with the parentheses — only the numeric value itself.
In the “Id Category” configuration, paste the copied number corresponding to the desired category.
Set the “Carousel” option to “YES”..
In “Disable Toolbar”, select the option “YES”.
For “Columns”, the default value is 4, but feel free to change it as desired.

In “Number Items”, set the number of items you want to display in the carousel. You can choose between 3 and 15 items.
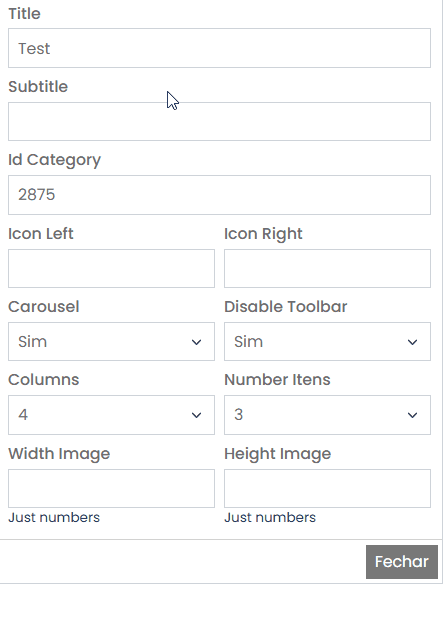
You can also set the height and width in the “Width Image” and “Height Image” fields. However, by default, these fields are not configured.
After completing all the settings, click the “Save Configuration” button located in the top right corner.
How to change the products in an existing grid? #
Navigate through the side menu located on the left side of the panel. Look for the “Catalog” tab and hover your mouse over it. This will display a new submenu. In the submenu, click on the “Categories” option.

Locate the category whose grid products on the homepage you want to change. If you followed the recommended naming convention for grid categories, your category will follow the pattern “HOME – [Category Name]”.
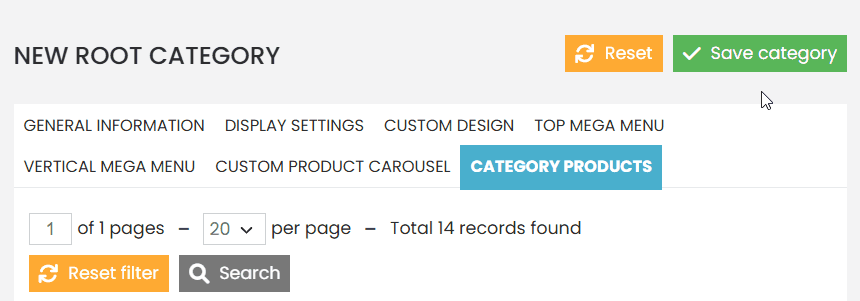
In the top menu of the category, go to the “Category Products” option.
Make the desired changes to the products by removing the old ones and adding new ones.
Remember to click the “Reset Filter” button to clear the filters and display all available products.
After completing all the adjustments, click the “Save Category” button.

If you have any difficulty or questions, don’t hesitate to contact our support team. We’re always here to help!