Pular para o conteúdo
Docs
  • Ticket no Helpdesk

Sales

4
  • How to check which seller is associated with an order?
  • How to Export Invoices in PDF
  • Post-Sale Email Configuration
  • How to Recreate a Child Order ?

Catalog

22
  • Sales region setup
  • How to create a virtual product ?
  • How to Add Related Products to Your Listing
  • How to Add an Attribute Inside an Attribute Group
  • How to Create Custom Options in Products
  • How to Create an Attribute Group
  • How to Create a Default Attribute on the Platform
  • How to Add or Edit Attribute Options in Your Catalog
  • How to Select Attributes for Products
  • How to Activate a Product for Sale in the Multiseller Model
  • How to Change Product Visibility in the Marketplace
  • How to Add Additional Days to Shipping
  • How to Remove a Category from the Filter Listing
  • Seal Configuration on the Website
  • How to Update Attributes in Bulk Through the Admin Panel
  • How to Add or Remove the Minimum Sales Quantity of a Product
  • How to create a grouped product?
  • How to create a simple product ?
  • Categories
    • How to Create a Carousel Product Grid on the Homepage?
    • How to Change the Name of a Category?
    • How to Include a Custom Description in Categories
    • How to Change the Order of Products in Categories

Documentação para o Time Interno da Soul

1
  • Two-Factor Authentication Activation

Promotions

7
  • How to Create and Configure Promotion Rules with Free Gifts
  • Discount Configuration for MultiSeller Marketplace (Original to Sale Price Model)
  • How to Create a Discount Coupon?
  • How to Create a Discount Rule Without a Coupon ?
  • Discount Rule Templates
  • Abandoned Cart Creation and Configuration
  • How to Create a Discount Coupon for an Abandoned Cart

Content

8
  • How to Create a Grouped Product?
  • How to Add Recipients to Forms
  • HOW TO CONFIGURE BLOG PRO
  • How to verify received forms
  • How to Create an Email Template with a Coupon for an Abandoned Cart
  • How to Change Field Requirements in Forms on the Platform
  • How to Change Home Page Banners
  • How to Check Received Forms

Seo/Marketing

1
  • How the Synonyms Feature Works in SEO

Marketplace

3
  • How to Allow or Restrict Purchases from Multiple Sellers in the Same Cart
  • How to Create, Disable, or Delete an Address in the Store Locator of the Soul Marketplace ?
  • Identifying the Seller Associated with an Order

Communications

2
  • How do I enable or disable comments on products?
  • How to enable the WhatsApp button

Reports

5
  • Adding Variables and Parent Order Fields to the Report
  • How to view the approved orders report
  • How to View the Abandoned Cart Report ?
  • How to View the Most Viewed Products Report
  • How to View the Best-Selling Products Report

System

6
  • How to check the records of new updates or improvements to the Marketplace?
  • How to Register Error Logs for Order Creation Attempts
  • How to Enable the Vertical Layout in Checkout
  • Display quote-only products only after priced products
  • How to Create an Administrative API User
  • New Tax Amount Display Feature

Seller Dashboard

5
  • How to Log in as a Reseller?
  • How to approve or disapprove a seller profile
  • Activating or Deactivating a Seller’s Store
  • New free shipping configuration in the reseller pane
  • How to change the free shipping field of the product via spreadsheet?

First Steps

1
  • How to Set Up Google Two-Factor Authentication
Ver categorias

How to create a grouped product?

3 minutos de leitura

This documentation guides administrators of the Soul platform through the process of registering a configurable product, highlighting the essential concepts, practical steps, and recommendations to ensure the proper functioning of the feature.

Before starting the registration of a configurable product, it is essential to understand the following concepts:

Configurable Product

This is a type of product that allows the creation of variations based on customizable attributes, such as color, size, voltage, etc. The configurable product functions as a “parent product,” grouping several associated simple products that represent each possible combination.

Attributes Used for Variation

To create a configurable product, the attributes used for variation (e.g., Color, Size) must be:

  • Set as “Used to create configurable product.”
  • Included in the Attribute Group selected during the parent product’s registration.

For more details, refer to the documentation on How to create an attribute group.

Steps to Register a Configurable Product

The standard flow for registering a configurable product involves two main phases: Registering the Parent Product (Config.) and Creating/Associating the Simple Products (Children).

  1. Access the administration panel
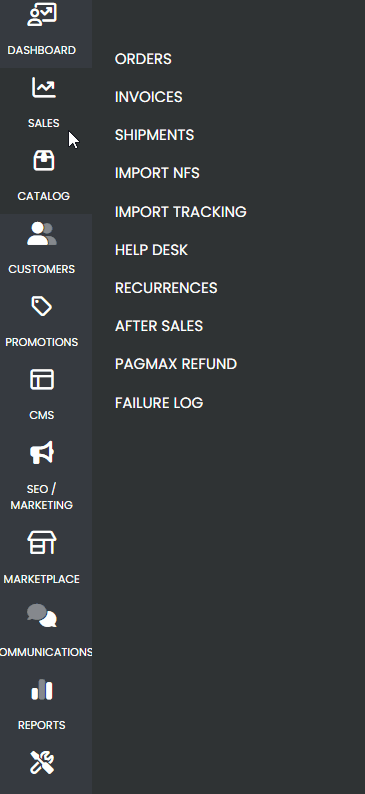
  • In the side menu, hover over the Catalog tab.
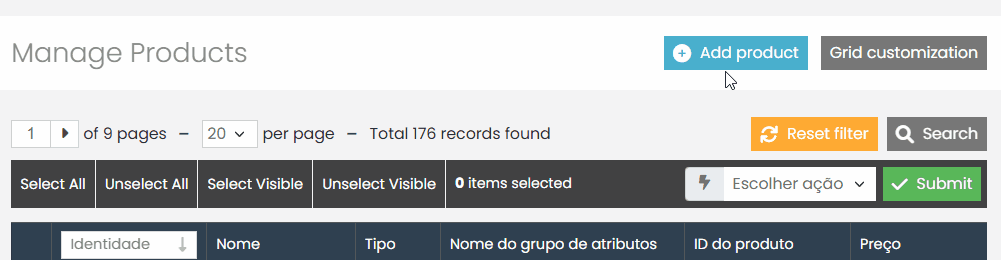
  • In the submenu that appears, click on Products.

  • Click the Add Product button located in the upper right corner.

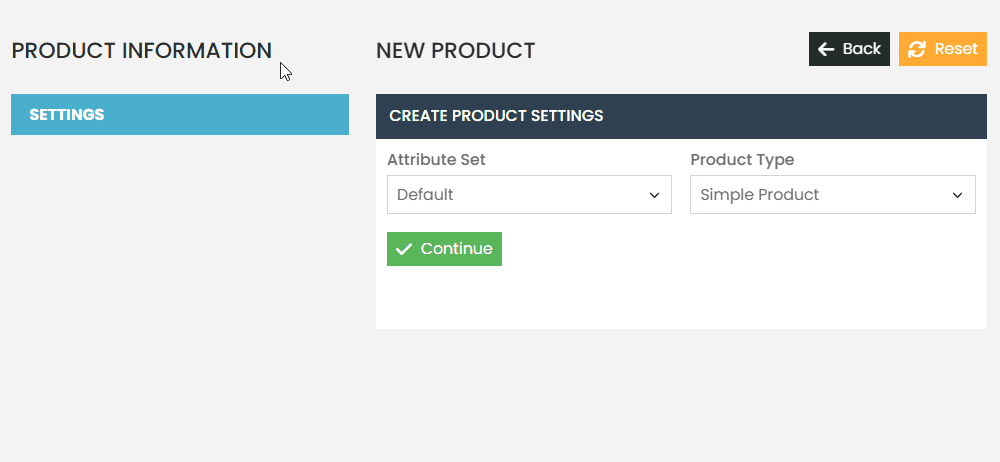
  1. Choose the Product Type: Configurable
  • Select the Attribute Set (e.g., Default).
  • Choose the “Configurable” product type.

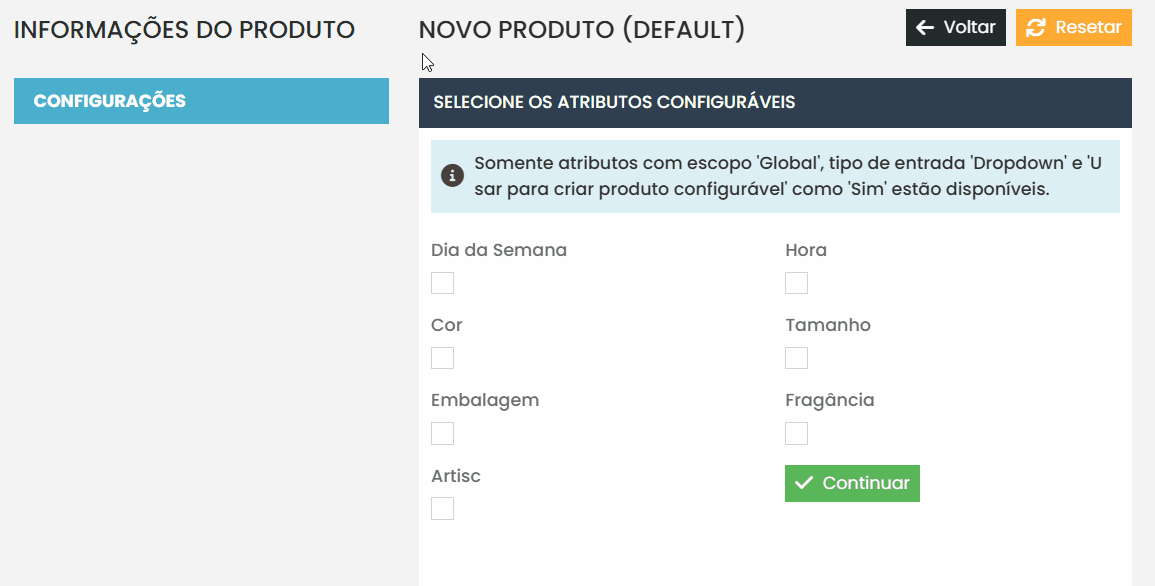
Select the configurable attributes (e.g., Color and Size).

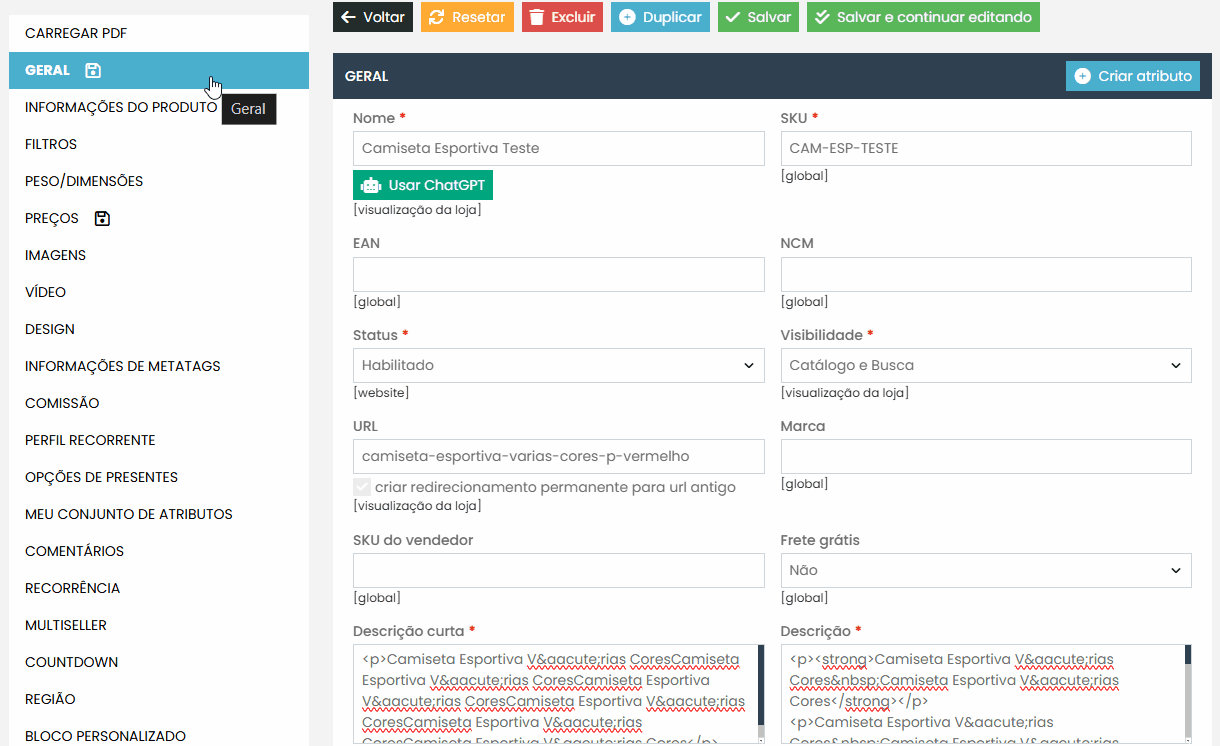
  1. Fill in the Required Fields

Complete the basic fields such as:

  • Name: The product name displayed in the store.
  • SKU: Unique identifier for the product in the system.
  • Status: Select Enabled (Indicates if the product is active in the catalog.)
  • Visibility: Should be set to “Catalog, Search” for the product to appear in the store.
  • Description: Detailed text shown on the product page. (Explain the product, its benefits, usage, or specifications.)
  • Short Description: Text shown in listings and summary areas. (Be clear and concise, highlighting key product points.)
  • Category: Classification of the product within the store. (Select one or more categories that accurately represent the product.)
  • Image: Add at least one image that generically represents the product.
  • Price: Product price (can be left blank if the price will be set on the child products).

Associate the Simple Products #

After saving the basic information, a section will appear to link simple products to the configurable one.

Options:

  • Create new simple products automatically based on the selected attributes.
  • Associate existing simple products that are already registered.

Associate Products #

To associate products, follow the steps below:

  • In the product information of the desired item, go to Associated Products.
  • Click the “Reset Filters” button to clear all previous selections.
  • Check the checkboxes of the products you want to associate.
  • After selecting the products, click “Save” to complete the association.

Requirements for Simple Products:

  • Must have the same attributes used for variation (e.g., Color = Red).
  • Each simple product must represent a unique combination.
  • Must have available stock and be marked as “In Stock.”
  • Visibility: “Not visible individually.”

Application Example

Product: Sports T-Shirt
Attributes used: Color (Red), Size (S)

Parent product: “Sports T-Shirt” (configurable)

Simple products:

  • Sports T-Shirt Red S
  • etc.

Final Recommendations #
  • Always review the variation attributes before starting the registration.
  • Use standardized names and SKUs for the simple products.
  • Ensure that all child products have images, prices, and stock defined.
  • Test the functionality on the front-end after completing the registration.

If you encounter any issues, contact our technical support team.

Quais são seus sentimentos
Atualizado em 21 de novembro de 2025
How to Add Related Products to Your ListingHow to create a simple product ?
Tabela de conteúdos (TOC)
  • Associate the Simple Products
    • Associate Products
      • Final Recommendations
© 2026 Docs • Built with GeneratePress