How to Perform Bulk Product Attribute Updates Using the Admin Panel
This feature is ideal for scenarios where multiple products share the same attribute. For instance, updating the color of several T-shirts to “yellow” or changing the free shipping status from “yes” to “no” for multiple items
Access the Products Tab #
- In the admin panel, navigate through the sidebar menu to the Catalog tab.
- Click on the Products option.
Select the Products #
Há três formas de selecionar os produtos:
- All Products: The update is applied to the entire catalog.
- Visible Products: The update is applied to the first 20 visible items.
- Individual Selection: Manually choose specific products.
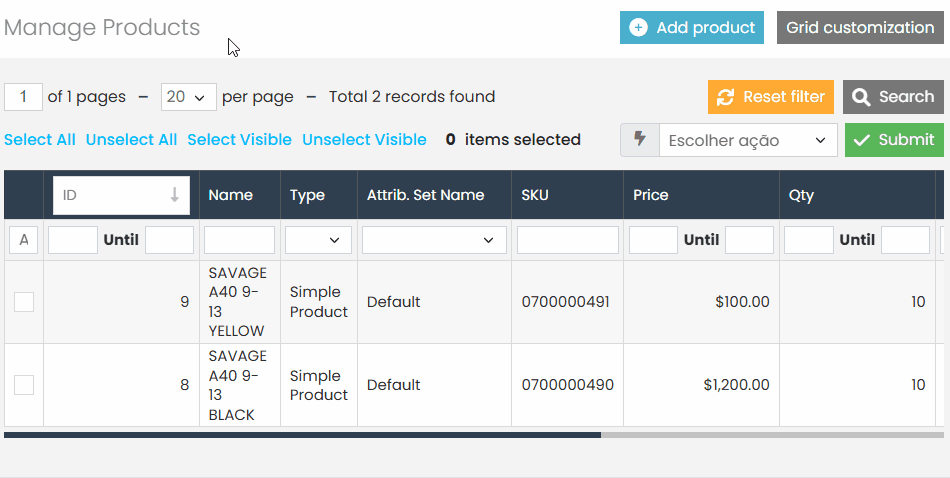
In the following example, we will use individual selection.[Choose the desired products by clicking the checkboxes next to each item.
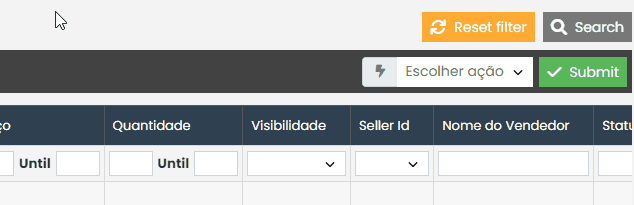
Select the Update Attributes Action #
- After selecting the products, click on the Actions menu at the top.
- Select the option Update Attributes.
- Click the green Submit button to load the update page.
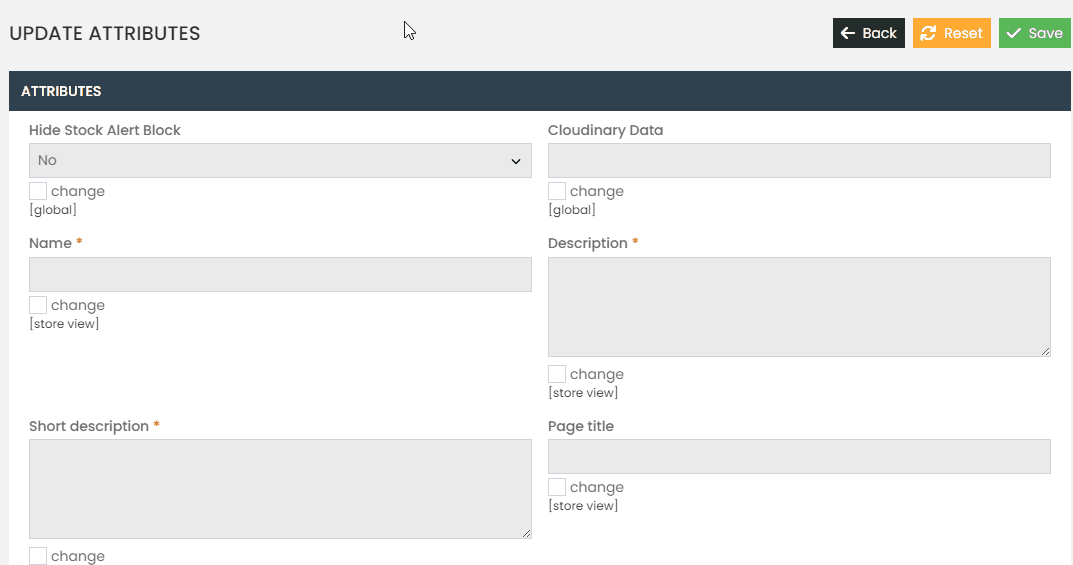
Update the Attributes #
- Locate the attribute you want to update.
Example: “Free Shipping”. - Check the corresponding box for the attribute to enable editing.
Note: Only select the attributes you wish to modify. - Choose the new value for the attribute. In this example, change “Free Shipping” to “YES”.
- Click the green Save button to apply the changes.
If you encounter any difficulties or have questions during the process, open a ticket in the support panel. Our team will be available to assist you.