Benefits of Two-Factor Authentication (2FA) #
Two-Factor Authentication strengthens the security of administrative access to the Soul Platform, significantly reducing the risk of unauthorized access, credential misuse, and unintended operational changes.
It is a practice aligned with global security standards and recommended for environments that handle sensitive information and critical operations.
View full benefits and usage guidelines
When will this configuration be required? #
When logging in with your user account in the administrative panel and not yet having two-step verification configured, you will be automatically redirected to the feature activation page.
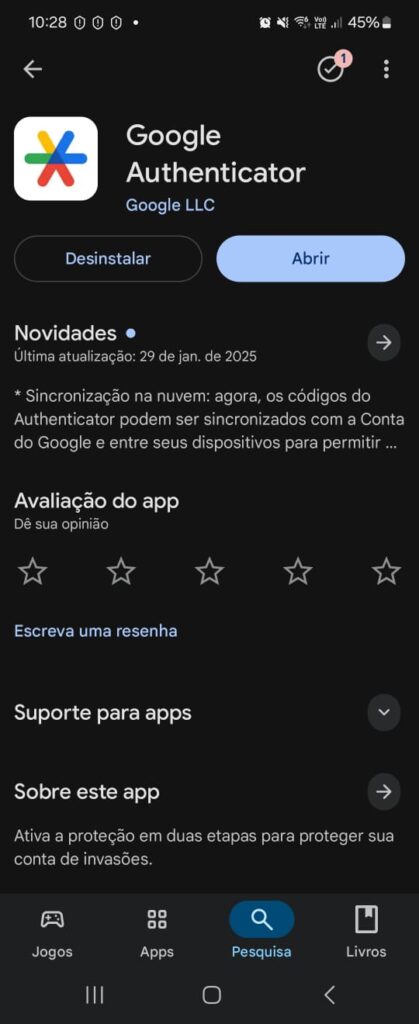
Step 1 – Install the Google Authenticator App #
On the initial setup screen, you will see an explanation about the mandatory nature of the feature and two buttons with links to the app stores:
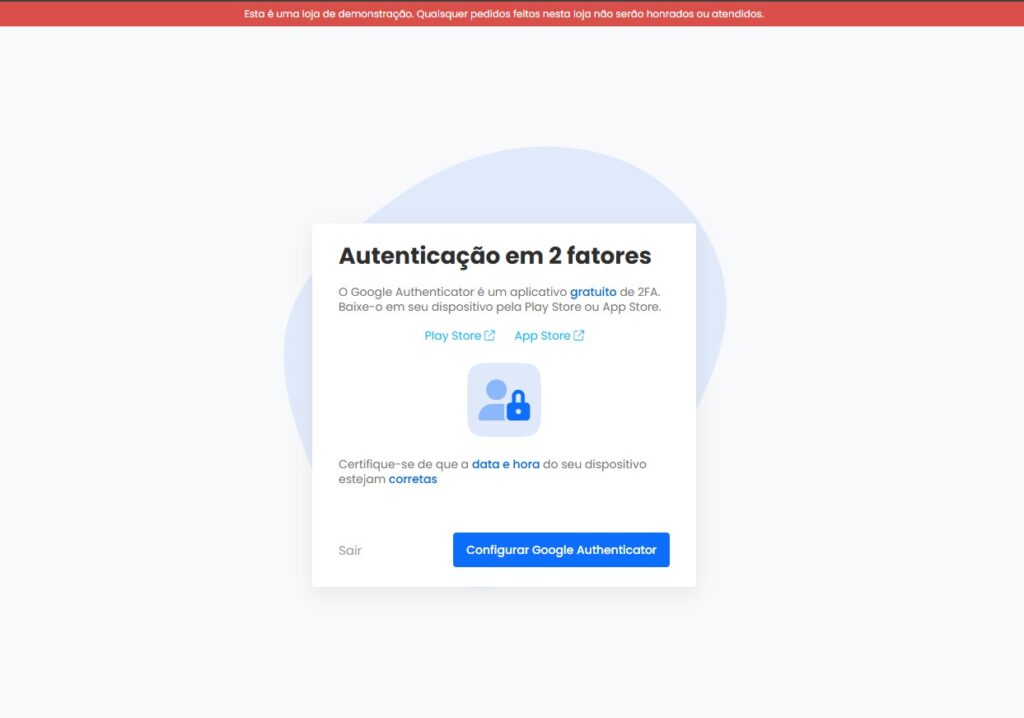
- Google Play Store – for Android devices
- Apple App Store – for iOS devices
🔹 Recommendation: Access this documentation directly from your mobile device to facilitate redirection to the app stores and installation of the application.
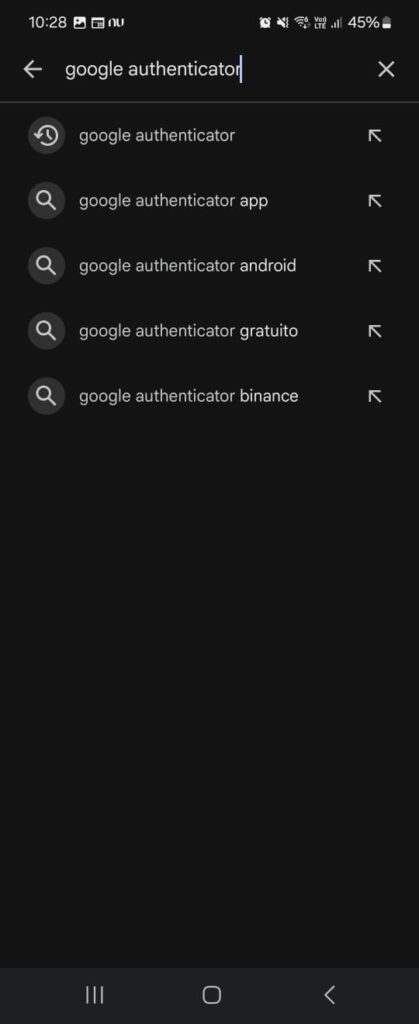
If you prefer, you can also open your mobile device’s app store and manually search for Google Authenticator.
How to install: #
Open your mobile device’s app store (Play Store or App Store).
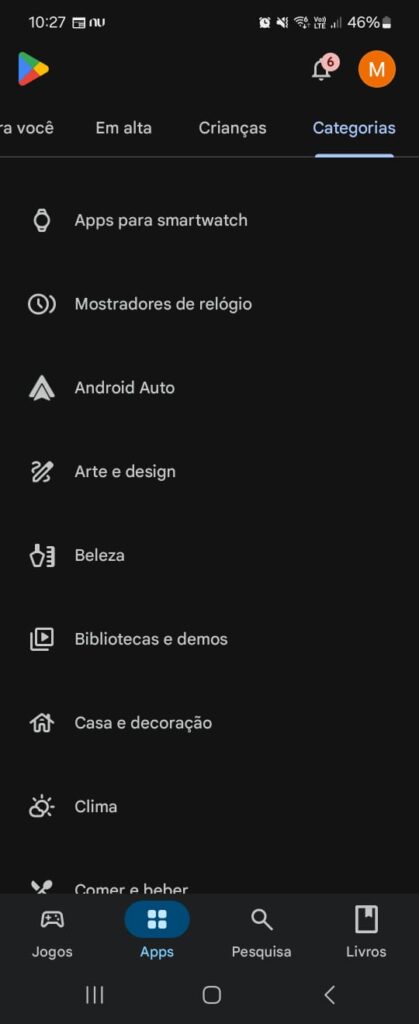
Search for Google Authenticator.
Tap Install.
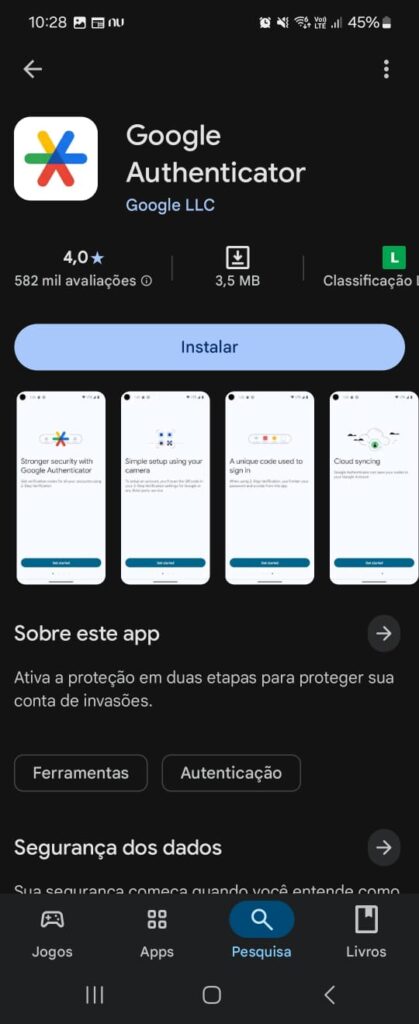
Wait for the installation to complete.
Step 2 – Link the Authenticator to Your Account #
After installing the application, follow the steps below to link your account:
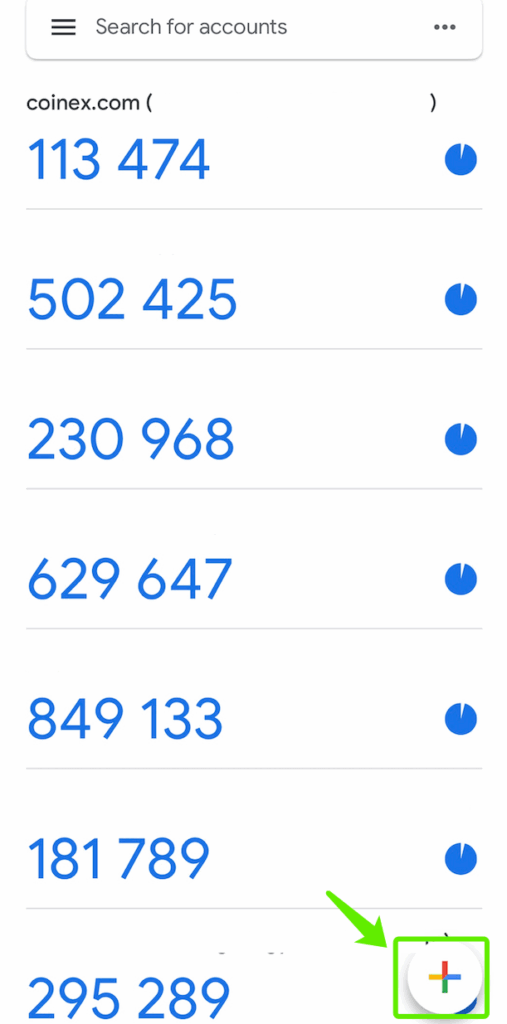
Open the Google Authenticator app on your mobile device.
Tap the + icon (bottom-right corner of the screen).
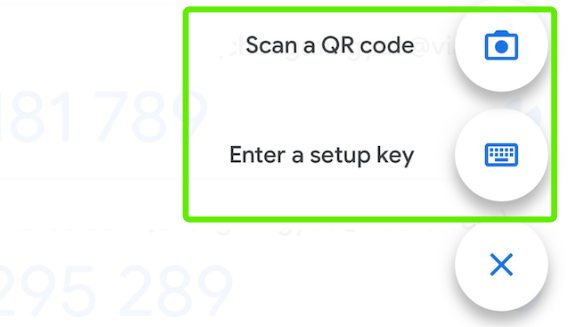
Selecione a opção Ler um código QR.
turn to the administrative panel in your browser.
Click the Set Up Google Authenticator button.

A QR Code will be displayed on the screen.
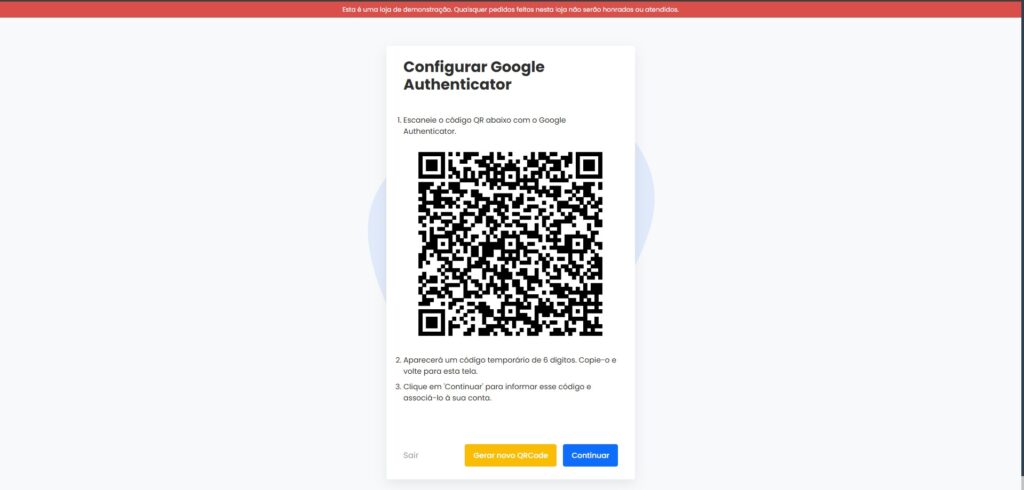
Point your mobile device’s camera at the QR Code to scan it.
The application will automatically start generating 6-digit numeric codes.
ℹ️ Important: The codes generated by the application are time-based and have limited validity (approximately 30 seconds). After this period, a new code is generated.
Step 3 – Confirm Authentication #
In the administrative panel, after scanning the QR Code, click Continue.
A new screen will be displayed requesting the 6-digit code.
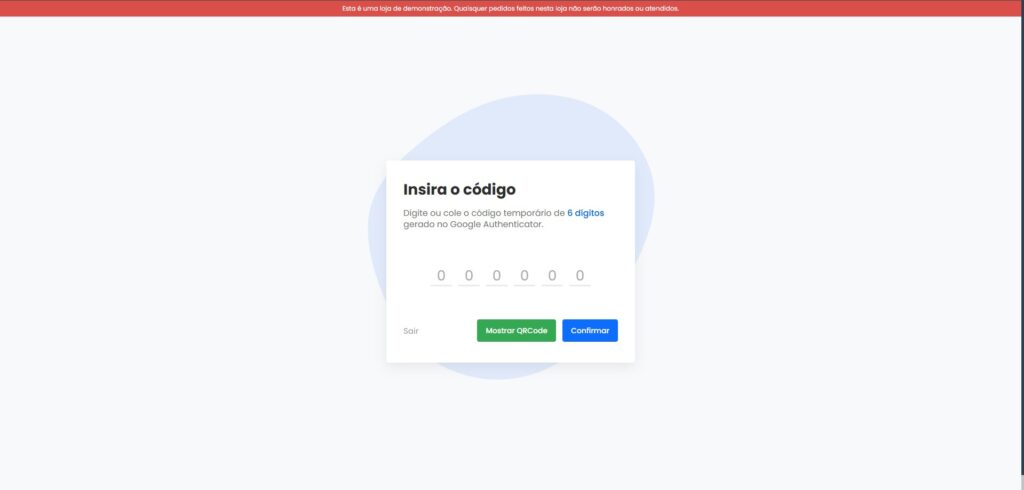
Wait for the next code to be generated (to ensure sufficient time) and enter it in the requested field.
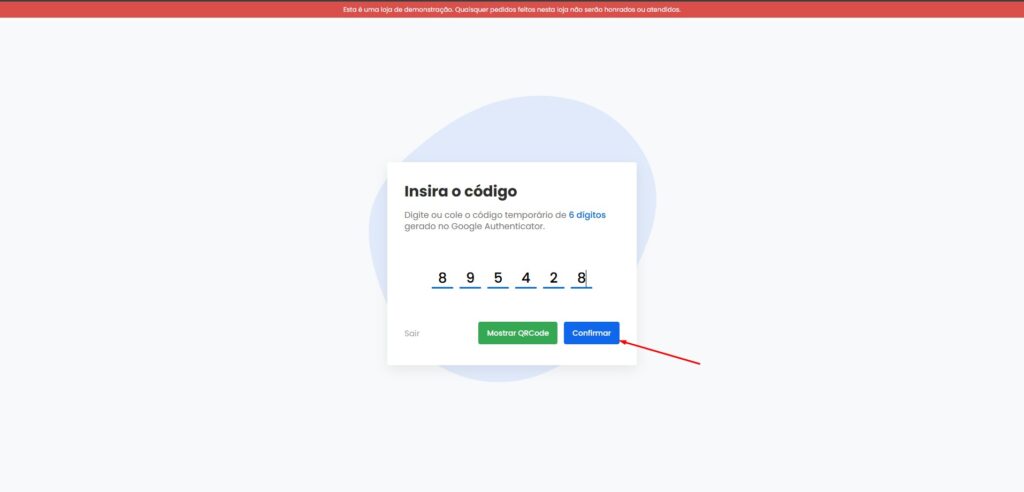
Click Confirm.
If the code is correct, the authentication will be successfully completed and you will be redirected to the administrative panel..
Additional Tips #
Always use the same mobile device with which you configured Google Authenticator.
In case of device loss, contact support to recover access.
Do not uninstall the application without first removing two-factor authentication from your account.
Support #
If you have any questions or encounter difficulties during the process, our team is available to assist.
We remain at your disposal. We wish you a great day and an excellent week.😊