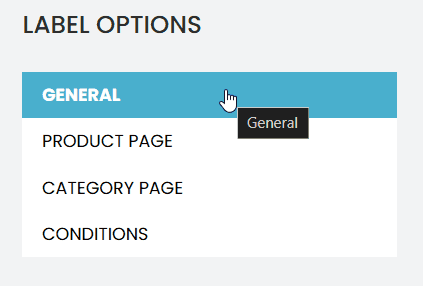
Requirements for Seal Configuration #
It is important that seals have small sizes to avoid impacts on the site’s performance and speed while ensuring a good visual experience for customers. We recommend sizes between 100×100 pixels and 300×300 pixels.
You can choose the position of the seals on the page. We recommend placing them in the upper right corner.
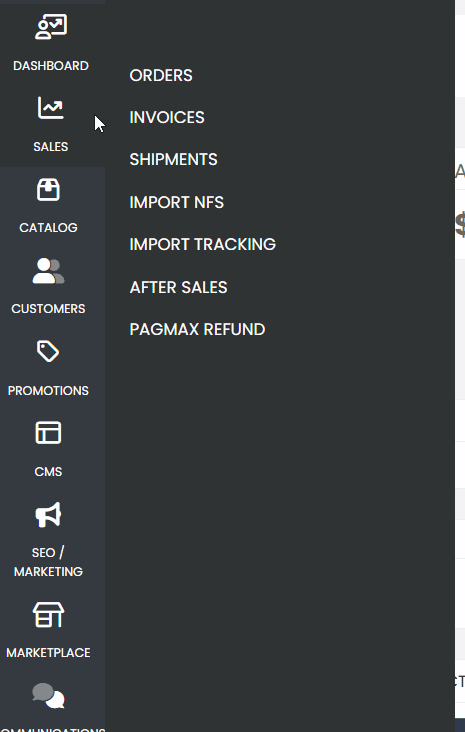
First, access your admin panel, then navigate through the side menu and look for the “Catalog” tab. Click to access “Label Management“
Click the blue button in the upper left corner labeled “Create Label.”
- Name: Label Name
- Status: Active
- Parent Products: Yes
- Display in: Desired Store View
Seal Configuration on the Category Page #
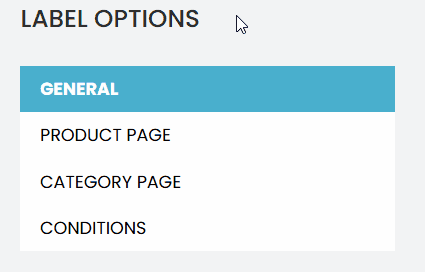
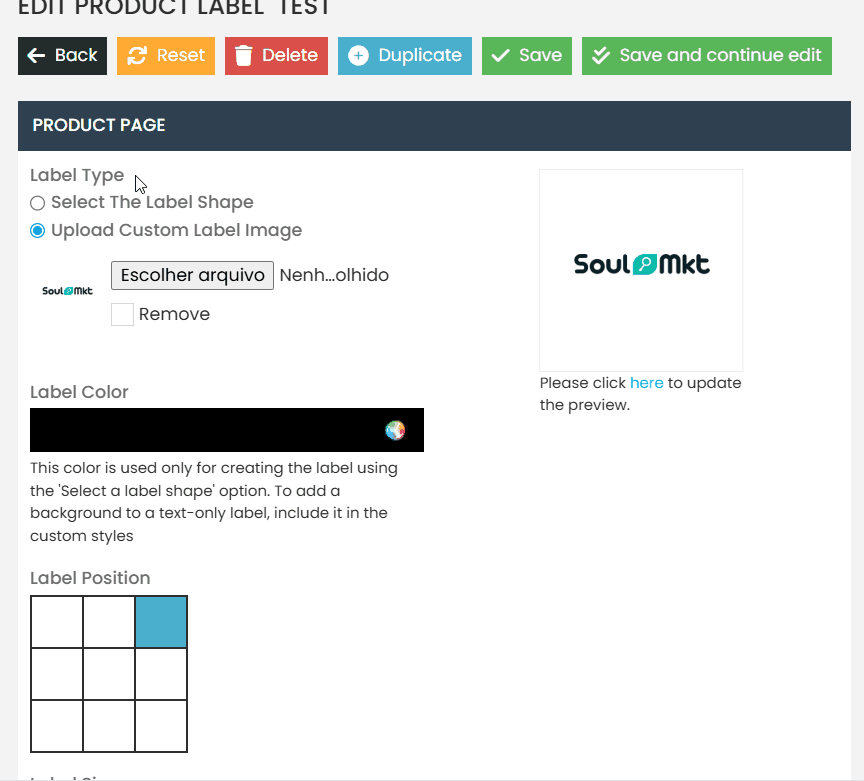
Select Product Page
- Check the option “ Upload custom label image”
- Choose the desired file.
- For the position, “select Top right corner”.
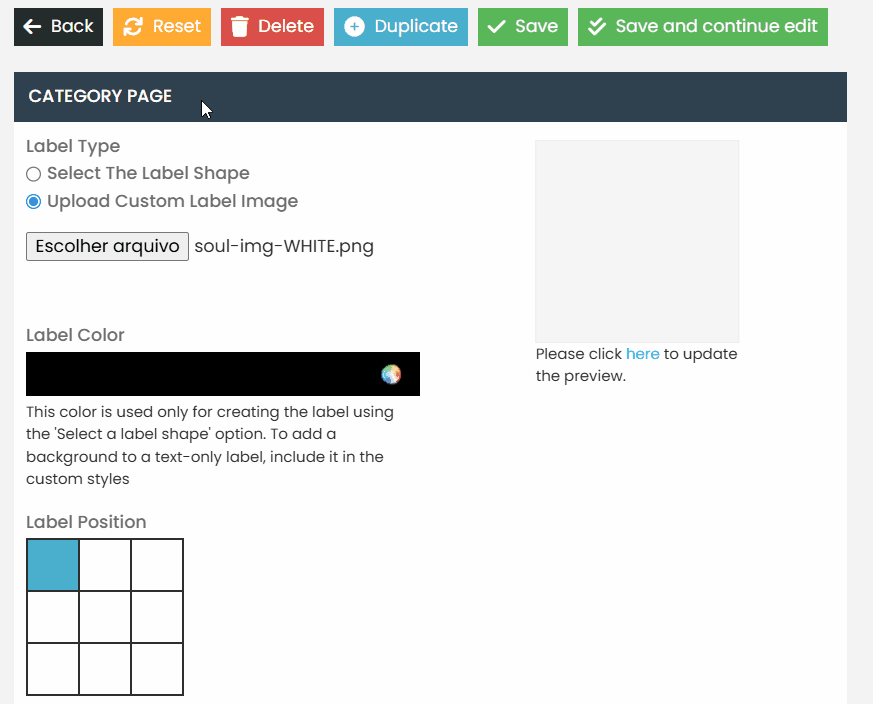
On the Category Page, follow the same process:
- Check the option “Upload custom label image.”
- Choose the desired file.
- For the position, select “Top right corner.”
Condition Definition #
There are several conditions that can be configured. Below are the basic settings for creating a standard seal:
Apply Label to: #
- All products matching the status below:
This option includes the seal on all products on the site. - All products matching, except for the listed SKUs:
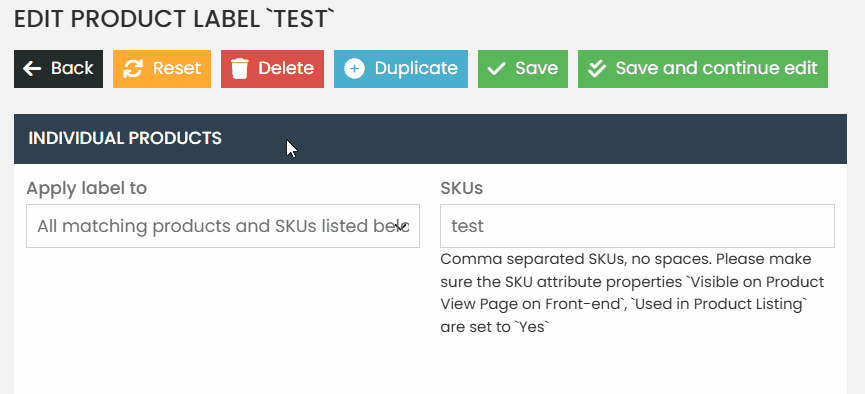
The seal will be added to all products except for the specified SKUs. - Only the SKUs listed below:
The seal will be added only to the specified SKUs. To add multiple SKUs, separate them with a semicolon ( ; ).
- Display Period:
You can set a display period for the seal by selecting the start and end dates using the calendar.
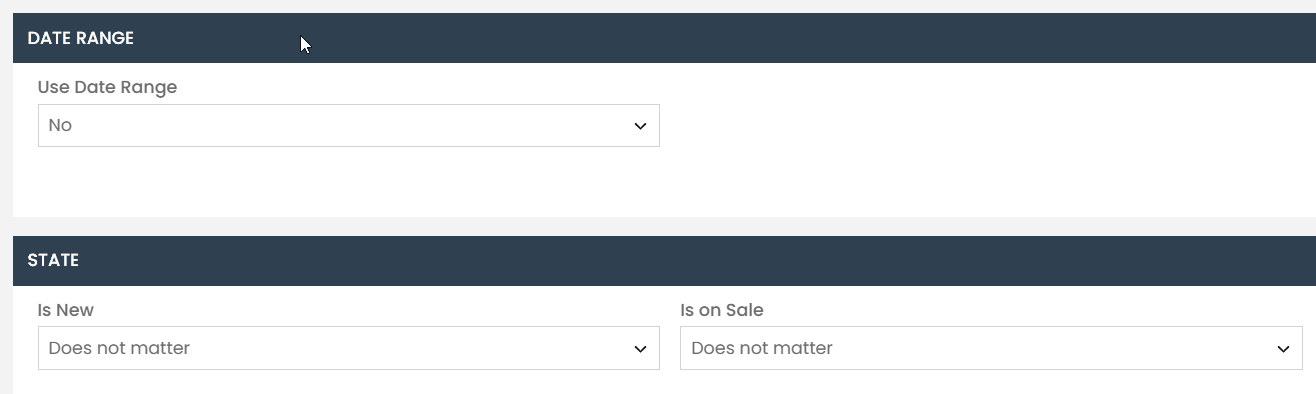
- State:
Choose whether the seal will be applied to new or non-new products. - Promotion:
Define whether the seal will be displayed only on promotional products or not.
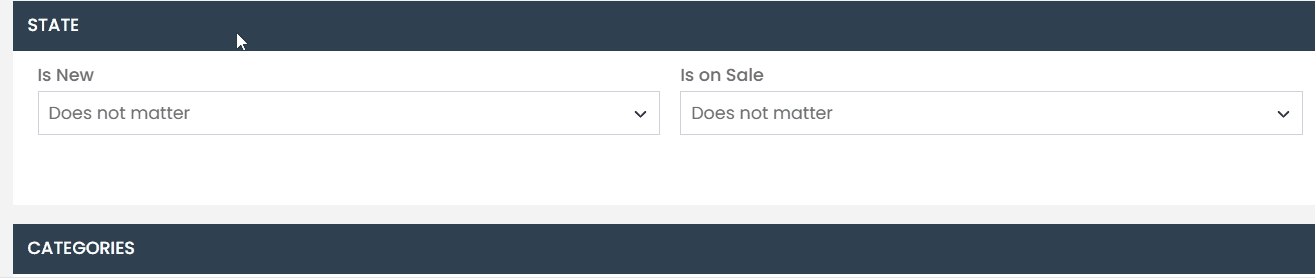
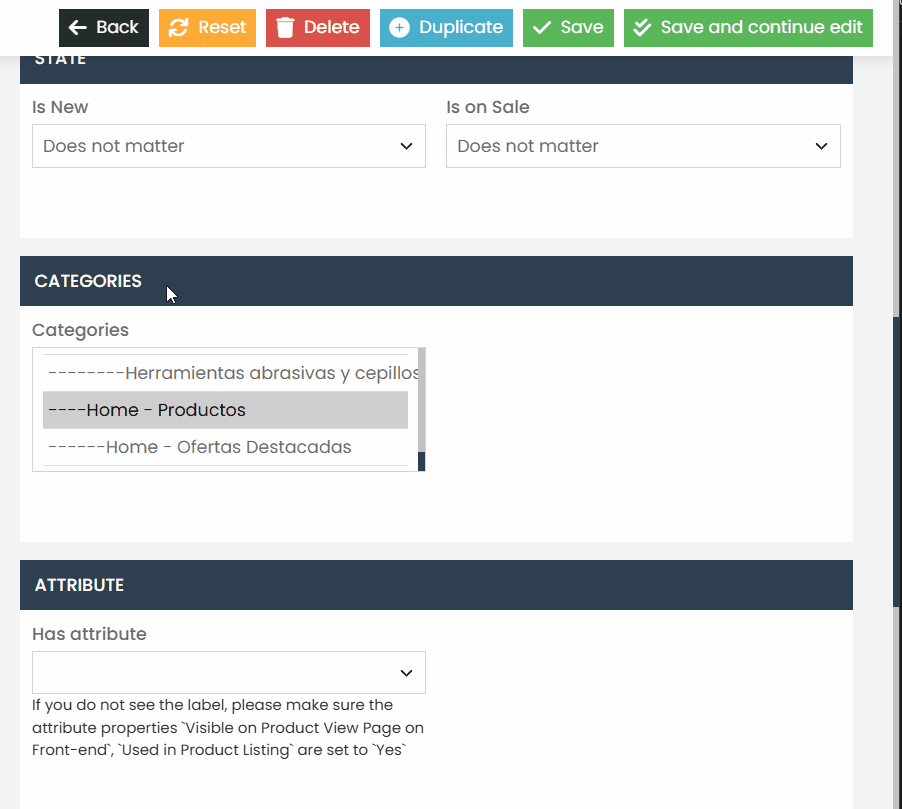
Category:
- Select the categories where the seal will be displayed. Only products belonging to these categories will receive the seal.
Attribute:
- If you want to configure seals based on specific attributes, we recommend opening a ticket in the support panel for proper guidance.
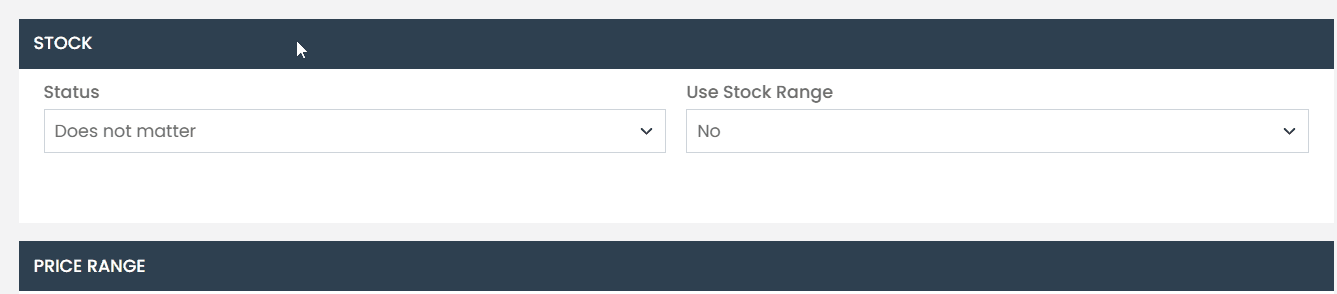
Stock Configuration #
- You can choose to add seals to:
- In-stock products.
- Out-of-stock products.
- Both cases.
- Stock Range:
If needed, configure a range for seal display. For example, you can set the seal to appear when the stock is below 10 units.
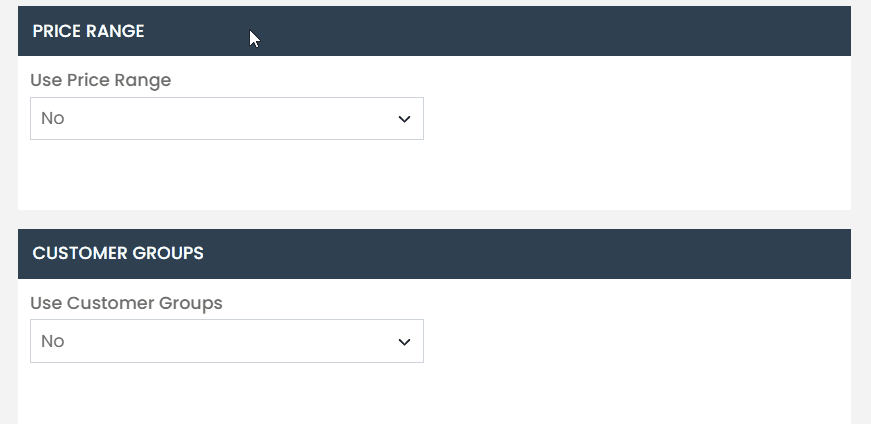
Price and Customer Group Configuration #
Leave the price range and customer group options set to No. If you need a specific configuration, open a support ticket in the support panel.
- Don’t forget to click the “Save and Continue Editing” or “Save” button.

- Validate if the seals are being displayed correctly on the category page, grid listing, and within the product pages.
If you have any questions or require specific conditions, please open a ticket in the support panel so we can assist you in the best way possible.