Pular para o conteúdo
Docs
  • Ticket no Helpdesk

Sales

4
  • How to check which seller is associated with an order?
  • How to Export Invoices in PDF
  • Post-Sale Email Configuration
  • How to Recreate a Child Order ?

Catalog

22
  • Sales region setup
  • How to create a virtual product ?
  • How to Add Related Products to Your Listing
  • How to Add an Attribute Inside an Attribute Group
  • How to Create Custom Options in Products
  • How to Create an Attribute Group
  • How to Create a Default Attribute on the Platform
  • How to Add or Edit Attribute Options in Your Catalog
  • How to Select Attributes for Products
  • How to Activate a Product for Sale in the Multiseller Model
  • How to Change Product Visibility in the Marketplace
  • How to Add Additional Days to Shipping
  • How to Remove a Category from the Filter Listing
  • Seal Configuration on the Website
  • How to Update Attributes in Bulk Through the Admin Panel
  • How to Add or Remove the Minimum Sales Quantity of a Product
  • How to create a grouped product?
  • How to create a simple product ?
  • Categories
    • How to Create a Carousel Product Grid on the Homepage?
    • How to Change the Name of a Category?
    • How to Include a Custom Description in Categories
    • How to Change the Order of Products in Categories

Promotions

7
  • How to Create and Configure Promotion Rules with Free Gifts
  • Discount Configuration for MultiSeller Marketplace (Original to Sale Price Model)
  • How to Create a Discount Coupon?
  • How to Create a Discount Rule Without a Coupon ?
  • Discount Rule Templates
  • Abandoned Cart Creation and Configuration
  • How to Create a Discount Coupon for an Abandoned Cart

Content

8
  • How to Create a Grouped Product?
  • How to Add Recipients to Forms
  • HOW TO CONFIGURE BLOG PRO
  • How to verify received forms
  • How to Create an Email Template with a Coupon for an Abandoned Cart
  • How to Change Field Requirements in Forms on the Platform
  • How to Change Home Page Banners
  • How to Check Received Forms

Seo/Marketing

1
  • How the Synonyms Feature Works in SEO

Marketplace

3
  • How to Allow or Restrict Purchases from Multiple Sellers in the Same Cart
  • How to Create, Disable, or Delete an Address in the Store Locator of the Soul Marketplace ?
  • Identifying the Seller Associated with an Order

Communications

2
  • How do I enable or disable comments on products?
  • How to enable the WhatsApp button

Reports

5
  • Adding Variables and Parent Order Fields to the Report
  • How to view the approved orders report
  • How to View the Abandoned Cart Report ?
  • How to View the Most Viewed Products Report
  • How to View the Best-Selling Products Report

System

6
  • How to check the records of new updates or improvements to the Marketplace?
  • How to Register Error Logs for Order Creation Attempts
  • How to Enable the Vertical Layout in Checkout
  • Display quote-only products only after priced products
  • How to Create an Administrative API User
  • New Tax Amount Display Feature

Seller Dashboard

5
  • How to Log in as a Reseller?
  • How to approve or disapprove a seller profile
  • Activating or Deactivating a Seller’s Store
  • New free shipping configuration in the reseller pane
  • How to change the free shipping field of the product via spreadsheet?

First Steps

1
  • How to Set Up Google Two-Factor Authentication
Ver categorias

How to Create Custom Options in Products

2 minutos de leitura

This documentation demonstrates how to create custom options in products, using two practical examples: customization with an additional price and size customization. These custom options allow customers to select product variations according to their specific needs, such as adding the student’s name and school to a t-shirt.

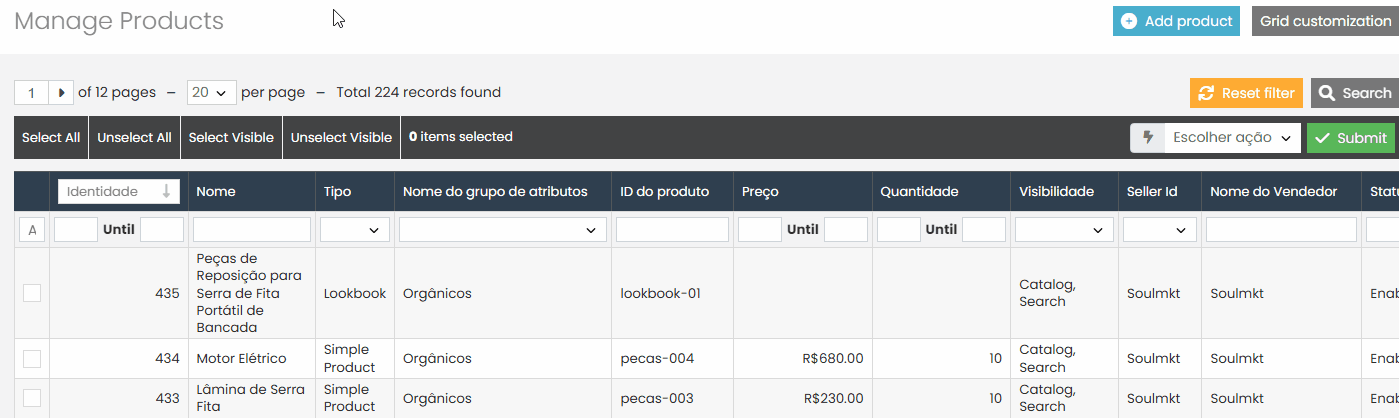
First, navigate through the side menu to the “Catalog” tab and select “Products”.

Supported Input Types #

In this demonstration, we will focus on the two most common input types:

  • Checkbox
  • Dropdown (Drop-Down List)

Other input types, such as radio buttons, can also be used. However, for the purposes of this documentation, we will only cover the two mentioned above.

Step-by-Step Guide to Create a Custom Option #

  • Navigate to the Catalog tab in the side menu and search for the product to which you want to add a custom option.

  • Go to Product Information and Select Custom Options

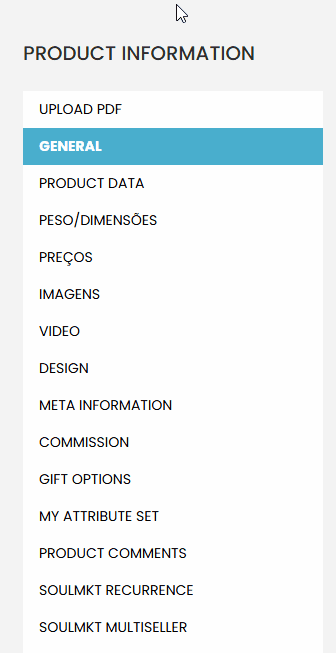
Next, click the blue button “Create an Option”.

  • Name the option as “Customization”.
  • Select the input type: checkbox or dropdown.
  • Set whether the option is mandatory or optional.

Add Specific Options

Add customization variations, such as:

  • No Customization: Additional price = $0.00.
  • With Customization: Additional price = $20.00 (example for t-shirts).

Define whether the value will be fixed or a percentage of the product price.

Practical Examples #

Example 1: Customization with Additional Price

  • Product: Customized T-Shirt.
  • Option: With customization.
  • Additional Price: $20.00.

Example 2: Size Customization

  • Product: Mug.
  • Option: Size (small, medium, large).
  • Additional Price: Can be defined individually for each size.

Alternative Input Types #

  • Radio Button: Allows the selection of only one option.
  • Checkbox: Allows the selection of multiple options.
  • Dropdown: Allows the selection of a single option from a list.

Final Considerations #

  • Ensure that the custom options meet customer needs and are intuitive.
  • Prefer creating configurable products if you need to offer multiple variations. Configurable products provide more efficient and robust maintenance.
  • Use custom options only in specific situations, such as print customization or name engraving.

This documentation aims to assist in effectively creating custom options, ensuring greater flexibility and product customization.

If you have any difficulties or questions, do not hesitate to contact our support team. We are always available to help!

Quais são seus sentimentos
Atualizado em 15 de maio de 2025
How to Update Attributes in Bulk Through the Admin PanelHow to Create a Default Attribute on the Platform
Tabela de conteúdos (TOC)
  • Supported Input Types
  • Step-by-Step Guide to Create a Custom Option
  • Practical Examples
  • Alternative Input Types
  • Final Considerations
© 2026 Docs • Built with GeneratePress